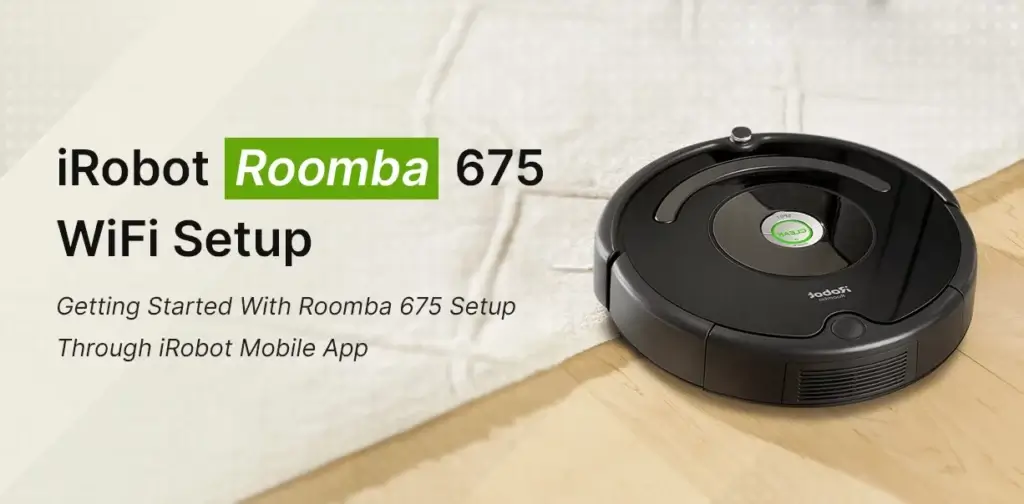
Do you need help setting up iRobot Roomba 675? Use the information provided on this page to go through the iRobot Roomba 675 wifi setup.
Undoubtedly, the Wi-Fi connected vacuum makes life so much easier. Just connect it to the Wi-Fi network and start controlling your vacuum’s basic functions like scheduling the cleaning session. Roomba 675 is the most affordable vacuum with Wi-Fi connectivity. It automatically adjusts to the floor surfaces, works quickly, and rarely gets stuck. Using the iRobot app, you can control and manage your Roomba vacuum from any location.
But what happens when you fail to connect your Roomba 675 to the Wi-Fi network? Frustrating isn’t it? Oh yes, there’s a start and stop button on the vacuum itself but what’s the point of spending so much when you are not able to control it from your Smartphone.
Now, if you are wondering how to connect Roomba 675 vacuum to the Wi-Fi network then the answer is using the iRobot app. The app is the only way to connect your Roomba to the internet. This guide will help you with the step by step instructions to make the iRobot Roomba 675 wifi setup easier.
Getting started with Roomba 675 setup through iRobot mobile app
To get started, you need to download the iRobot Home app on your Smartphone. The two versions of the app are available: Android and iOS. So, pick the one that is compatible with your mobile device. When you open the app for the first time, it will ask you some basic information such as country, language, time-zone, etc. Then, you will see a license agreement; agree to the terms and conditions.
The next step is to place the Home Base charging station near the wall outlet. Plug one end of the line cord into a wall outlet and the other will go into the Home Base. Place the Roomba 675 Vacuum onto the home base. The vacuum will take some time to get charged before its first run. You can continue the Roomba 675 setup on the iRobot app.
Go back to the iRobot app and either log in or create your new Roomba account. The app will ask you to provide some basic information like- name, country, email address, and password. Tap on ‘Create Account’ to proceed further. The app will now ask you to choose the model of your Roomba vacuum. Choose Roomba 675 and tap on ‘Set up a new Roomba’.
Proceeding with the iRobot Roomba 675 Wifi setup
At this point, you can connect your Roomba vacuum to the Wi-Fi network. The app will automatically connect Roomba 675 to the Wi-Fi network that your Smartphone is connected to. Tap continue and enter your Wi-Fi password. You will need to press the home Icon and Target icon together on the Roomba itself for a few seconds. The Roomba will make a beep sound. This ensures that your Roomba 675 is connected to a Wi-Fi network.
On the app, you will now be asked to give a name to your vacuum. Your Roomba vacuum is now ready to start cleaning. For the first run, you will need to give it some training. After that, your robot will run itself and clean the floors itself. You only need to schedule the cleaning session on the iRobot app.
When you cannot connect Roomba to Wi-Fi
At this point, you can connect your Roomba vacuum to the Wi-Fi network. The app will automatically connect Roomba 675 to the Wi-Fi network that your Smartphone is connected to. Tap continue and enter your Wi-Fi password. You will need to press the home Icon and Target icon together on the Roomba itself for a few seconds. The Roomba will make a beep sound. This ensures that your Roomba 675 is connected to a Wi-Fi network.
On the app, you will now be asked to give a name to your vacuum. Your Roomba vacuum is now ready to start cleaning. For the first run, you will need to give it some training. After that, your robot will run itself and clean the floors itself. You only need to schedule the cleaning session on the iRobot app.
