Braava Mop Setup

TROUBLESHOOT ISSUES WITH THE iROBOT BRAAVA MOP EASILY

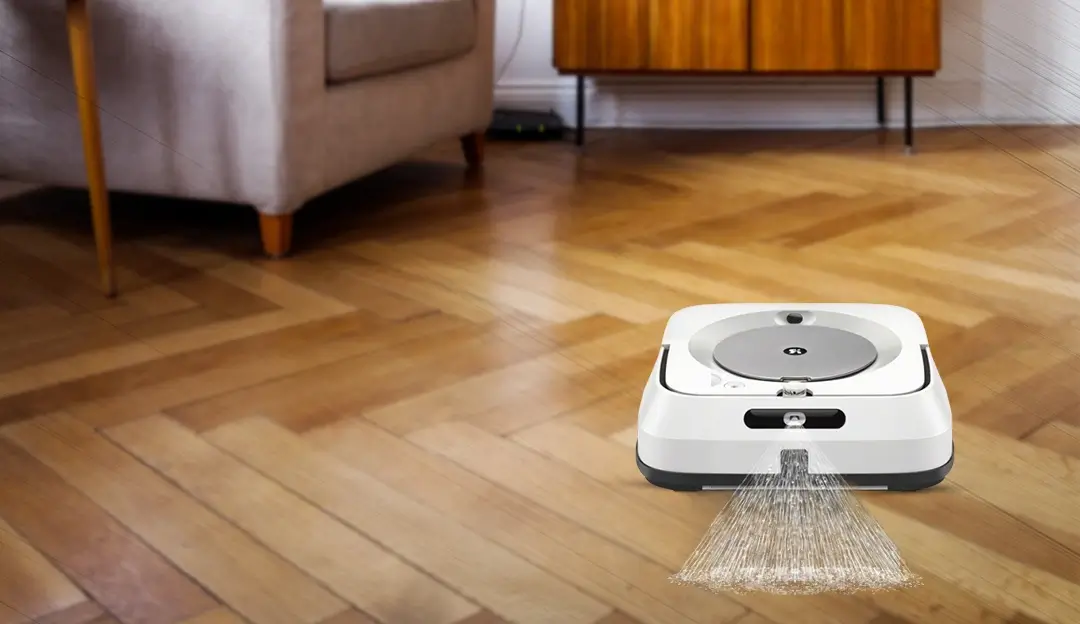
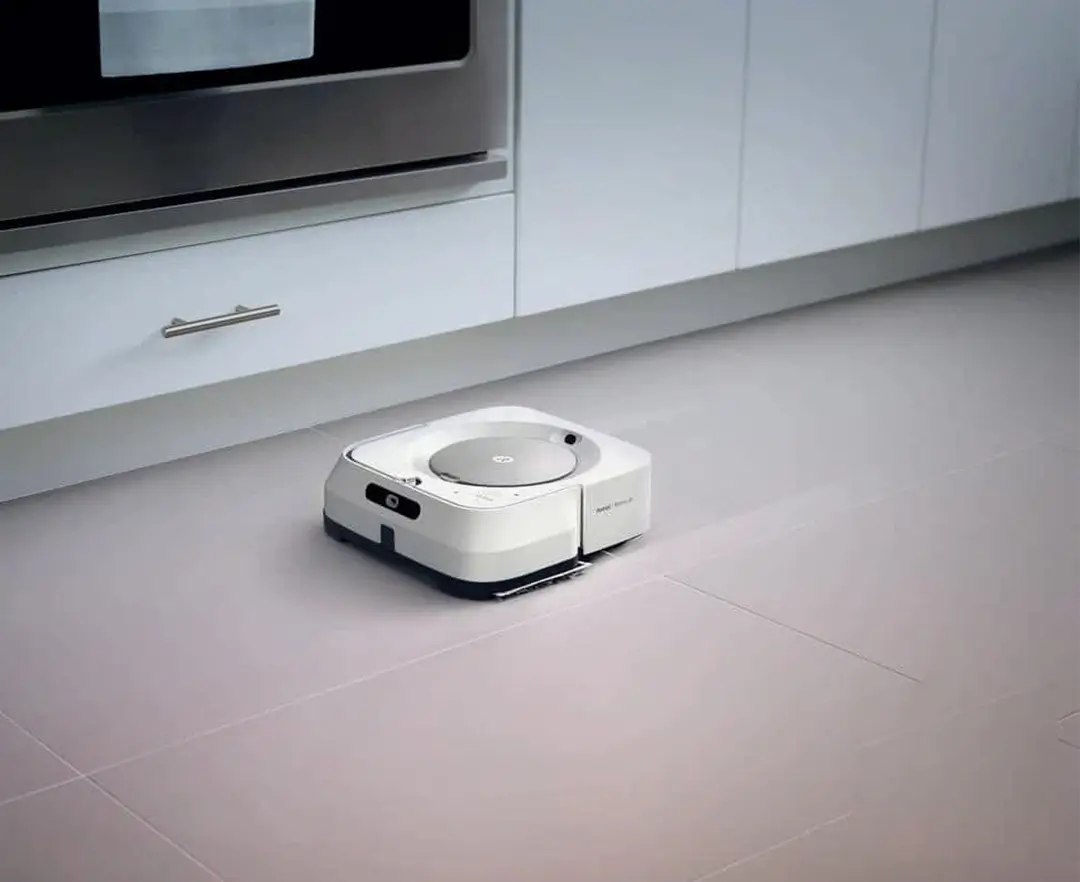
iRobot’s Braava Mop is relatively new but is making quite some noise owing to its capabilities. After the iRobot Roomba’s success, this device is also expected to see great numbers in terms of consumer acceptance. If you have recently purchased a new Braava Mop for your home, or are planning to buy it soon, learning about the Braava Mop setup steps will go a long way in ensuring seamless productivity.

This blog will walk you through the steps to complete the Braava Mop Setup process and start maintaining your home the smart way.

Troubleshooting issues

Preparing for the Braava Mop Setup Process

Before you begin with the Braava Mop Setup, you’ll need to prepare the machine for the same. The setup process is completed in multiple steps. The section below walks you through the same with detailed steps mentioned.

Charging and Installing the Battery

Select and Install a Jet Cleaning Pad

Note: Before using a Wet mopping or Dry Sweeping Pad, use a Dry Sweeping Pad or vacuum to clean loose debris.

  • Slide in the Braava Jet pad that you have selected into the track on the bottom of the robot until it clicks into place.

Filling the Robot with Water

If you are selecting the Wet Mop or Damp Sweep option, you’ll need to fill water in the robot.

  • To do this, lift the robot handle to find the tank cap and lift and swivel it open.
  • To ensure the tank is filled completely, tilt the robot slightly so that the front left corner is pointed downwards and the tank opening is at the top.
  • Once the tank is full, turn the cap back and close the same. Lower the robot handle.

If you are using the Dry Sweep option, you can follow these steps:

  • Place your robot in the lower-left corner of the area that you want to clean. This should be about a foot away from the wall.
  • Press the Clean button once to wake up the robot. Press the Clean button again to start the cleaning cycle.
  • The Braava robot can clean up to 200ft2 while in the mop mode and rooms up to 250ft2 while in damp or dry sweeping.
  • Braava Jet will finish by cleaning the edges and perimeters of the room, furniture, and fixtures as well. Just like iRobot Roomba, the Braava Jet returns to the place it has started, powers off, and plays a tone.

Eject the Cleaning Pad and preparing Braava Jet for next use

  • Lift the handle and pull back on the Pad Eject button to eject the cleaning pad without touching the dirt.
  • Remove the battery and put it in the charger so it can charge for the next cleaning.
  • Empty the water tank before storing the robot. Braava Jet can be stored wheels-down or on its side with the battery side down.

DOWNLOAD THE iROBOT HOME APP

If you are looking to manage your iRobot devices, you can download the iRobot Home app from your device-specific application store.

Troubleshooting issues with the Braava Jet

When there’s something wrong with the Braava jet, you will get notified using the sound and light alerts. Here are some issues you might encounter with the Braava Mop:

iRobot Braava Mop Troubleshoot
  • Reboot your Braava jet if you are facing some issues. Press and hold the Clean button for about 5 seconds until you hear an audible tone. Now, take out the battery and insert it again. Press Clean again to turn the robot back on.
  • If the Braava Mop remains on after an error occurs, press the bumper towards the body of the robot once. This will repeat the message. In case the robot has turned off after the error has occurred, press the Clean button to turn it on.
  • If there is an issue with the amount of water that the Braava Jet uses on the floor in case of wet mopping or damp sweeping modes, download the iRobot Home App to adjust your robot settings.
  • If the robot is not spraying or the spray is uneven even when the tank has enough water and you can hear the pump running, contact the technical experts.

NEED MORE HELP WITH THE iROBOT BRAAVA MOP SETUP?
REACH OUT TO THE TEAM NOW!