The updated versions of Roomba can be connected with the same wifi network as your house. You can control your iRobot manually now. You will be provided with the option to schedule the sessions of cleaning. Now, you can connect the voice assistants like Alexa and Google with it as well. Now, if you are thinking to connect Roomba to Netgear nighthawk ac1900 router, consider the information given below.
Steps To Connect Roomba With The Home WiFi Network
Install The iRobot App
The first and foremost step is to install the iRobot app from the google play store or the app store. Search the app online and install it on your mobile phone. If you did already, skip this step.
Setting Up Roomba Home Base
To have a seamless connection, you need to set up the Roomba home base near your router. Check if the wifi coverage is smooth and uninterrupted to carry out the process. Check if your Roomba is compatible with a 5GHZ network. If not, connect it with 2.4GHZ. You can check the online list for the same. Now plug your Roomba in the power button if not done already. Once plugged in, it will start charging your Roomba vacuum.
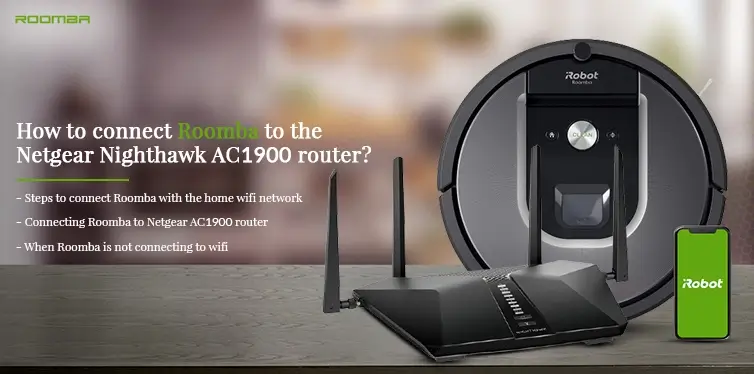
Connect Roomba To Netgear Nighthawk AC1900 Router
- Start with launching the iRobot app on your mobile.
- The users who are new will have to create a new account. Fill in your country and the language field which you prefer. Double-check the details you are giving like the model name. It should be correct.
- The app will try to detect your home network. Click on the preferred network to which you want to connect. By default, the network to which your other devices are connected will appear on the screen.
- Enter the wifi password. You will either get a message of the successful connection or you will be asked to try again later if the connection failed. Enter the password again.
- Now dealing with the Roomba vacuum, press and hold these two buttons simultaneously- ‘Home’ and ‘Spot clean’.
- After that, the Roomba will start making a sound automatically and will flash a green LED.
- The connection made is successful now and you can directly control your Roomba vacuum with the iRobot mobile app on your smartphones or tablets.
You can also personalize the settings now. You can alter the name, language or any other details which you gave earlier. The cleaning sessions can be started now or scheduled for later.
When Roomba Is Not Connecting To WiFi
When you provide the necessary details to join the robot to the wifi network, they try to discover each other. So, If you are encountering this problem when the Roomba is not connecting to your wifi network, look for the solution here. Perform the following steps to connect your Roomba with the home network.
- Ensure that the Roomba and your router are placed in such an area where the wifi coverage is good. If they are positioned at a distance from each other, chances are there that the signal will get weaker.
- Check if the LED is blinking green on your Roomba. Force closing the iRobot app and open it again. If not connected automatically, follow the on-screen instructions and try to connect the Roomba with the wifi network.
- Hence complete the setup process again.
If the problem is still persisting check whether the wifi settings on the router are compatible with the wifi setup process. In case your robot cannot be found in the network, try rebooting the robot and the router. You always have an option to factory reset your Roomba and router. It will no doubt erase all the personalized settings but, may provide the solution as well.
Conclusion
The Roomba can be connected with the home wifi and hence can be used smoothly to perform the cleaning process. If you are still experiencing any doubts or facing issues about how to connect Roomba to Netgear Nighthawk AC1900 router, get in touch with our team of experts now. They will guide you for the same. Try referring to the website as well.